
Installation
Download and install NetStacks Terminal on macOS, Windows or Linux, what happens on first launch, how automatic updates work, and how the Controller is installed.
Available Downloads
NetStacks Terminal is free. Download it from netstacks.net/download; you don't need an account or a license key. These builds are published:
| Platform | Architecture | Format | Signing |
|---|---|---|---|
| macOS 10.15 or later | Apple Silicon (arm64) and Intel (x64), as separate downloads | .dmg | Apple Developer ID signed and notarized |
| Windows 10 / 11 | x64 | Installer .exe | Code-signed |
| Linux | x86_64 | AppImage and Debian/Ubuntu .deb | Update packages are signed |
There are no Windows ARM64, Linux ARM64, MSI, RPM or universal macOS builds. On an ARM64 Windows PC, the x64 installer may run under Windows' built-in x64 emulation, but that setup is not tested.
Each desktop download contains the Terminal app and its Local Agent. Nothing else needs to be installed.
macOS
- Download Apple Silicon (.dmg) for M-series Macs or Intel (.dmg) for Intel Macs. To check which you have, open the Apple menu, choose About This Mac and look at Chip or Processor.
- Open the
.dmgand drag NetStacks into Applications. - Launch NetStacks from Applications. The app is signed and notarized by Apple. macOS may ask you to confirm opening an app downloaded from the internet; click Open.
- The first time you launch it, NetStacks explains that it needs access to your local network to reach devices (SSH, Telnet, SNMP, discovery). Then macOS asks for Local Network permission. Click Allow. Without it, NetStacks can't connect to devices on your LAN. You can change this later in System Settings → Privacy & Security → Local Network.
- macOS may also ask you to approve adding the NetStacks Local Agent certificate to your login keychain. Approve it. This lets the app talk securely to its own Local Agent.
Windows
- Download Installer (.exe).
- Run it. NetStacks installs for your user account only, so you don't need administrator rights.
- During installation or on first launch, Windows asks whether to install a certificate named NetStacks Local Agent into your user's trusted root store. Click Yes. This lets the app talk securely to its own Local Agent on
127.0.0.1. - Launch NetStacks from the Start menu.
NetStacks uses Microsoft Edge WebView2, which is part of Windows 11 and current Windows 10 builds.
Linux
Debian / Ubuntu (.deb)
Install the downloaded package with apt, which pulls in the WebKitGTK 4.1 and GTK 3 dependencies:
sudo apt install ./NetStacks-*.debAppImage (any x86_64 distribution)
chmod +x NetStacks-*.AppImage
./NetStacks-*.AppImage
AppImages need FUSE 2. On Ubuntu 22.04 and later, install libfuse2 (on Ubuntu 24.04 the package is libfuse2t64). Your system also needs WebKitGTK 4.1 and GTK 3.
Local Agent certificate
On first launch NetStacks adds its Local Agent certificate to the system trust store. On Linux this needs administrator rights, so a polkit password prompt appears. Enter your password to continue. The app then restarts once.
First Launch
On first launch you choose how to use NetStacks: on its own (standalone) or signed in to your organization's Controller (enterprise).
Standalone (default)
- The Local Agent starts in the background. On the first run, the app installs the agent's certificate (see the platform steps above) and restarts.
- A full-screen NetStacks window asks you to Create a master password to protect your credentials. Enter a password of at least 12 characters twice and click Create Vault. There is no way to recover this password, so store it somewhere safe.
- The setup wizard opens: Welcome to NetStacks → Set up the AI assistant → Connect NetBox (optional) → A few concepts → You're all set. You can click Skip setup and come back later from the command palette (Setup Wizard) or Settings → General.
Continue with the Quick Start.
Sign in to a Controller instead
If your organization runs a NetStacks Controller, click Sign in to a Controller instead on the master-password screen. Enter the Controller URL (for example https://controller.example.com:3000) and click Save & restart. When the app restarts, it asks you to trust the Controller's certificate and then shows the enterprise sign-in screen.
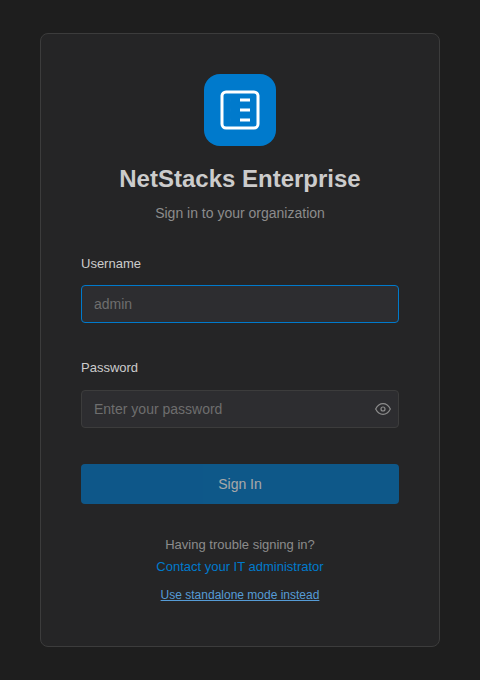
The enterprise sign-in screen. Use standalone mode instead at the bottom restarts the app in standalone mode.
See Connecting to a Controller for the full walkthrough, including certificate verification.
Automatic Updates
Three seconds after launch, the desktop app checks releases.netstacks.net for a newer version for your platform and architecture. If there is one, an Update Available banner appears (“Version x is ready to install”):
- Install Now downloads the update, verifies its signature, installs it and restarts NetStacks. A progress bar shows the download.
- Later hides the banner until the next launch.
Updates are signed, and the app refuses any update whose signature doesn't match the NetStacks release key. There is one release channel. There is no menu item for checking manually; restart the app to check again.
In-app updates on Linux are published as AppImages. If you installed the .deb, update by downloading the new .deb from the download page and installing it with sudo apt install ./NetStacks-*.deb.
The web terminal served by a Controller has no updater. It updates when the Controller is upgraded.
Uninstalling and Your Data
Uninstalling the app does not delete your data. In standalone mode, all your sessions, vault, topologies, documents and settings live in a single SQLite database:
| Platform | Database | App configuration and certificates |
|---|---|---|
| macOS | ~/Library/Application Support/netstacks/netstacks.db | ~/Library/Application Support/com.netstacks.terminal/ |
| Windows | %LOCALAPPDATA%\netstacks\netstacks.db | %APPDATA%\com.netstacks.terminal\ |
| Linux | ~/.local/share/netstacks/netstacks.db | ~/.local/share/com.netstacks.terminal/ |
To remove NetStacks completely, uninstall the app (drag it to the Trash on macOS, use Installed apps on Windows, or remove the package with your package manager or delete the AppImage on Linux). Then delete these folders. To move to a new computer, use a backup instead; see Local Agent → Backup & Restore.
Installing the Controller Enterprise
The Controller is not on the public download page. With your license, NetStacks gives you a release bundle (netstacks-controller-<version>.tar.gz) and credentials for the container registry (ghcr.io). The bundle contains docker-compose.yml, docker-compose.ha.yml, .env.example, install.sh and upgrade.sh.
- On a Linux server with Docker Engine and the Docker Compose v2 plugin (see requirements), extract the bundle and run the installer:
tar xzf netstacks-controller-<version>.tar.gz cd deploy ./install.sh - The installer checks for Docker and logs in to the registry. It asks for your registry username and token unless
GHCR_USERandGHCR_TOKENare set. - Answer the prompts: single instance or HA, Controller version, bundled or external PostgreSQL, the TLS hostnames (SANs), and a few others. Secrets such as the
VAULT_MASTER_KEYare generated for you and written to.env. Back up.env: without the same vault key, encrypted credentials in a restored database can't be decrypted. - The installer pulls the images, starts the stack and waits for it to become healthy. It then prints the admin console URL (
https://<host>:3000) and the generated password for theadminuser. - Sign in to the admin console. Activate your license under Administration → License (this needs internet access to netstacks.net). Then add users and devices.
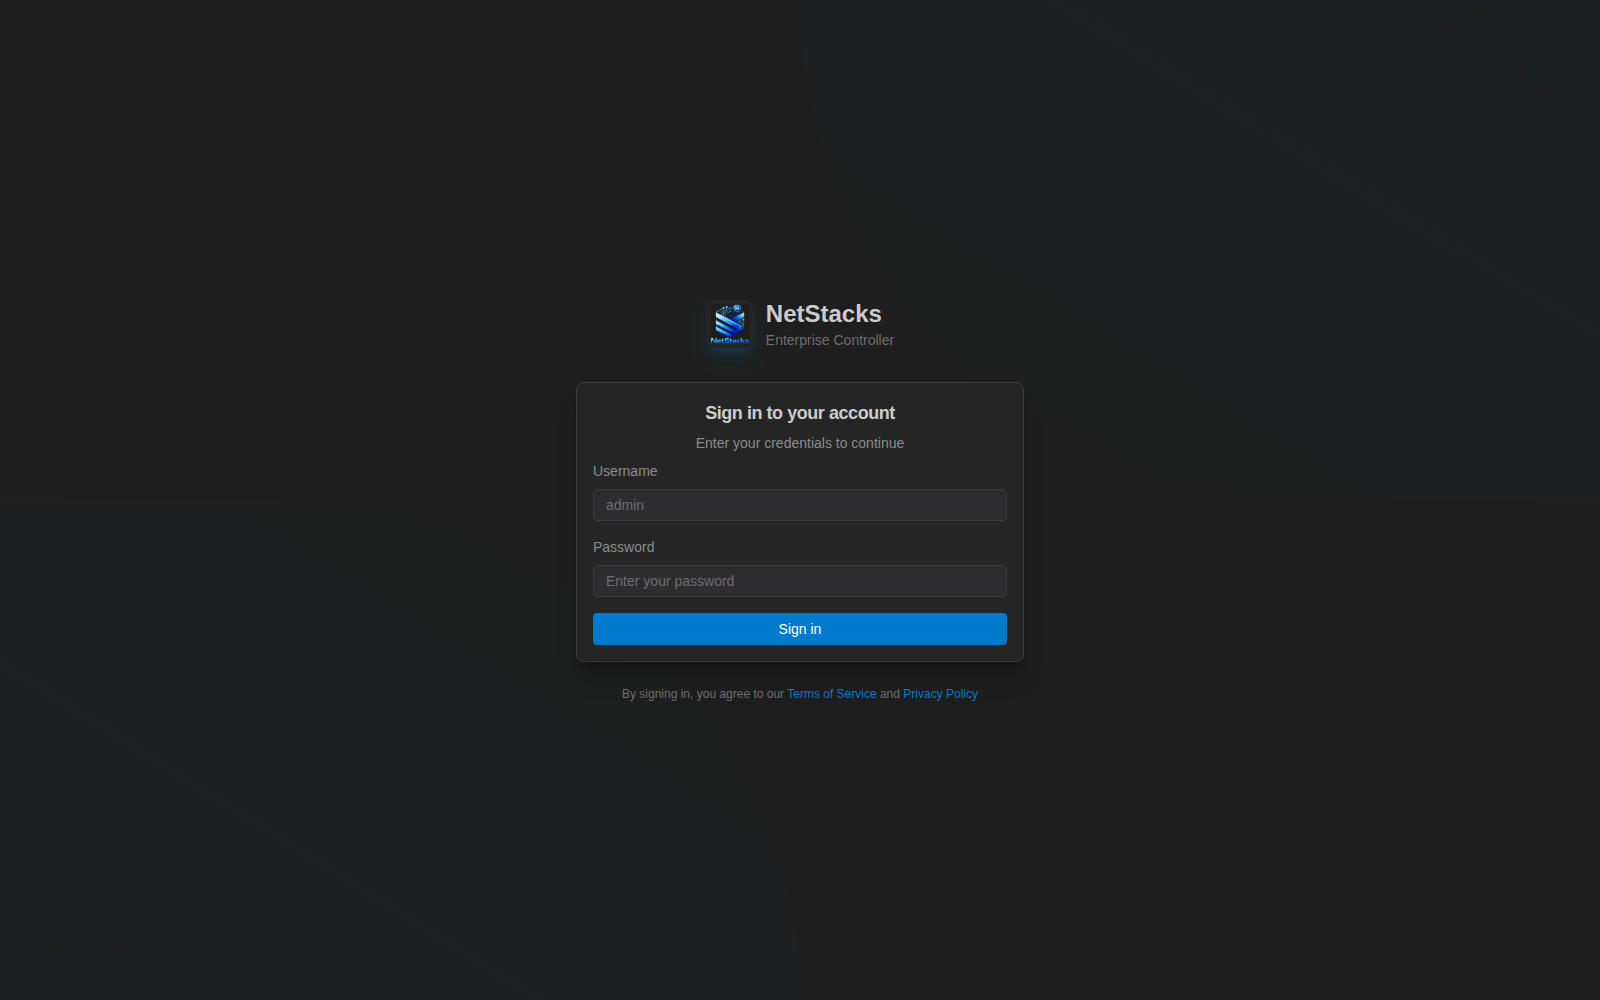
The admin console sign-in page at https://<host>:3000/.
If you run install.sh again with a new configuration and the bundled database, it removes the existing database volume. To upgrade, use ./upgrade.sh [version], which backs up the database first, or run docker compose pull && docker compose up -d.
HA deployment is covered in HA Deployment, and Controller settings in System Settings.
Troubleshooting
The app shows a backend or connection error on first launch
Usually the Local Agent certificate wasn't trusted, for example because you dismissed the keychain, Windows certificate or polkit prompt. Quit NetStacks completely and start it again; the app retries the certificate install when it starts.
macOS: devices on the LAN time out
Check System Settings → Privacy & Security → Local Network and make sure NetStacks is allowed.
Linux: the AppImage won't start
Install FUSE 2 (libfuse2 or libfuse2t64) and make sure the file is executable (chmod +x). If the window stays blank, check that WebKitGTK 4.1 (libwebkit2gtk-4.1-0) is installed.
No update banner appears
Updates are checked once per launch, so restart the app. Make sure your network allows HTTPS to releases.netstacks.net.