
Quick Start
Your first 15 minutes with NetStacks Terminal: create the vault, set up AI, add a credential profile and a session, connect, ask the AI about the output and map your network.
Overview
This walkthrough takes a new standalone installation to a working setup in about 15 minutes. You'll create the vault, add an AI provider, save a device, connect to it over SSH, ask the AI about its output and build a topology map.
You need:
- NetStacks Terminal installed (see Installation).
- A router, switch or Linux host you can reach over SSH, and its login details.
- Optional: an API key from an AI provider (Anthropic, OpenAI, OpenRouter) or a local Ollama install.
The screenshots on this page come from the NetStacks demo, which runs in enterprise mode. So the sidebar is labelled Devices; in standalone mode it is called Sessions and has its own toolbar. Everything else looks the same.
A Quick Tour of the Window
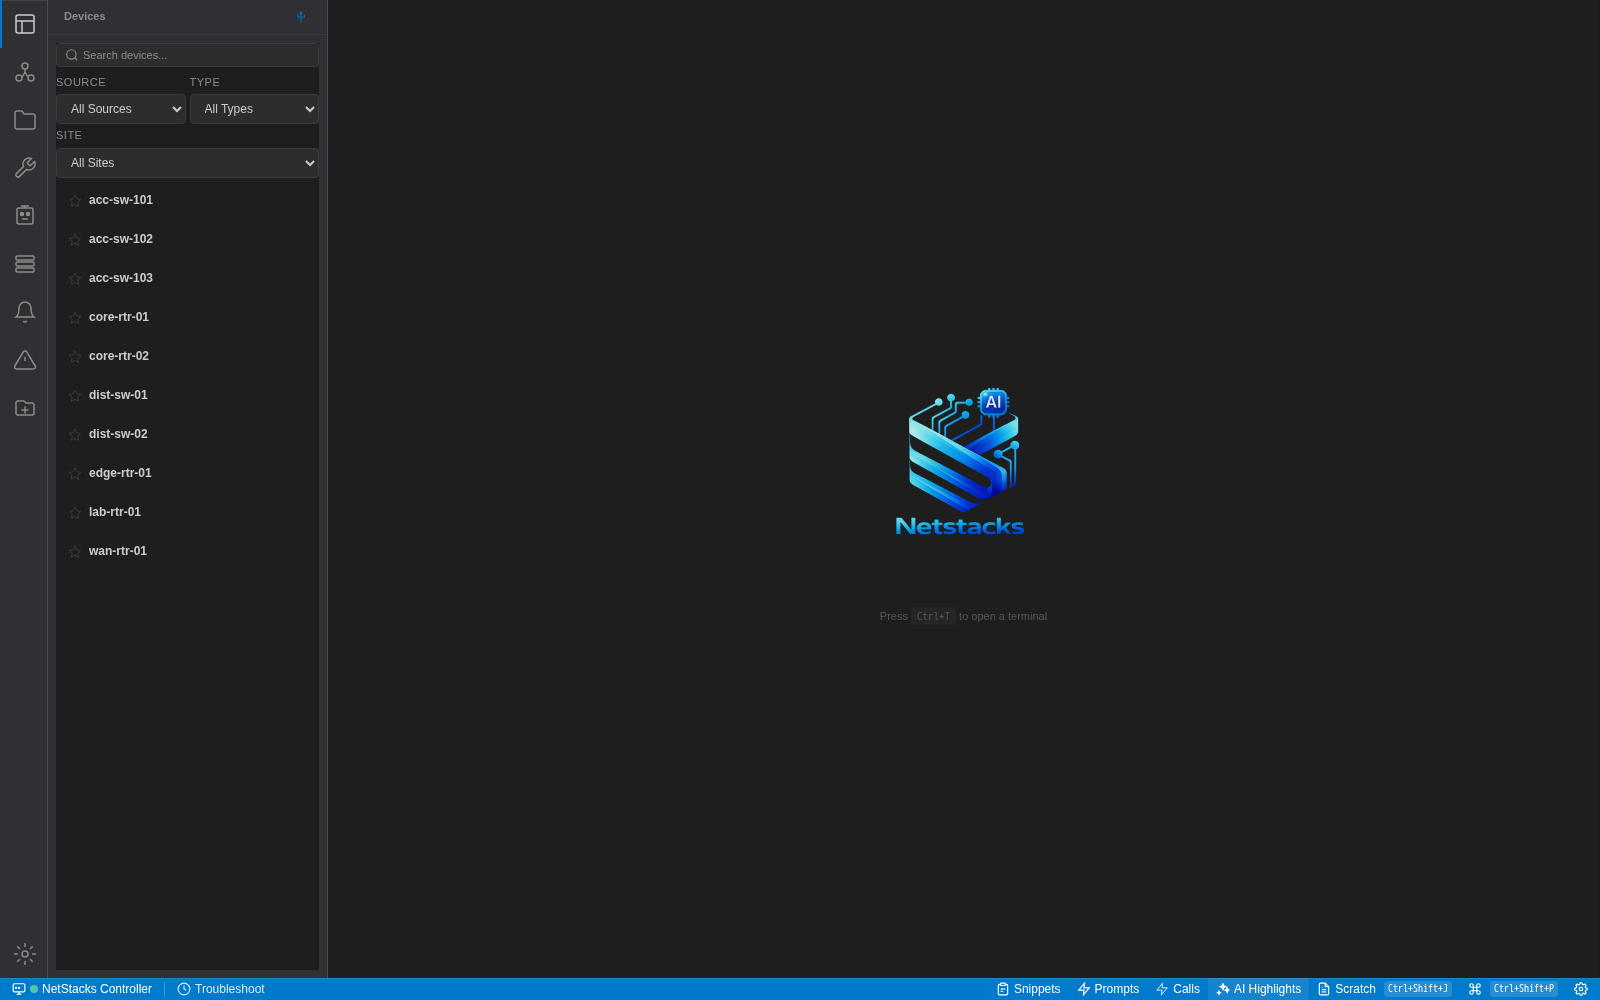
- Activity bar (far left), from top to bottom: Sessions, Network Topology, Documents, Changes (MOPs), Agents and Workspaces. Settings is at the bottom.
- Sidebar: the contents of the selected activity. Pin it open with the pin button, or toggle it with Cmd/Ctrl+B.
- Tab area: terminals, topologies, documents and settings open as tabs. Cmd/Ctrl+T opens a local shell.
- Status bar: connection count, Troubleshoot, Snippets, Prompts, Calls, AI Highlights, Scratch, the command palette and Settings.
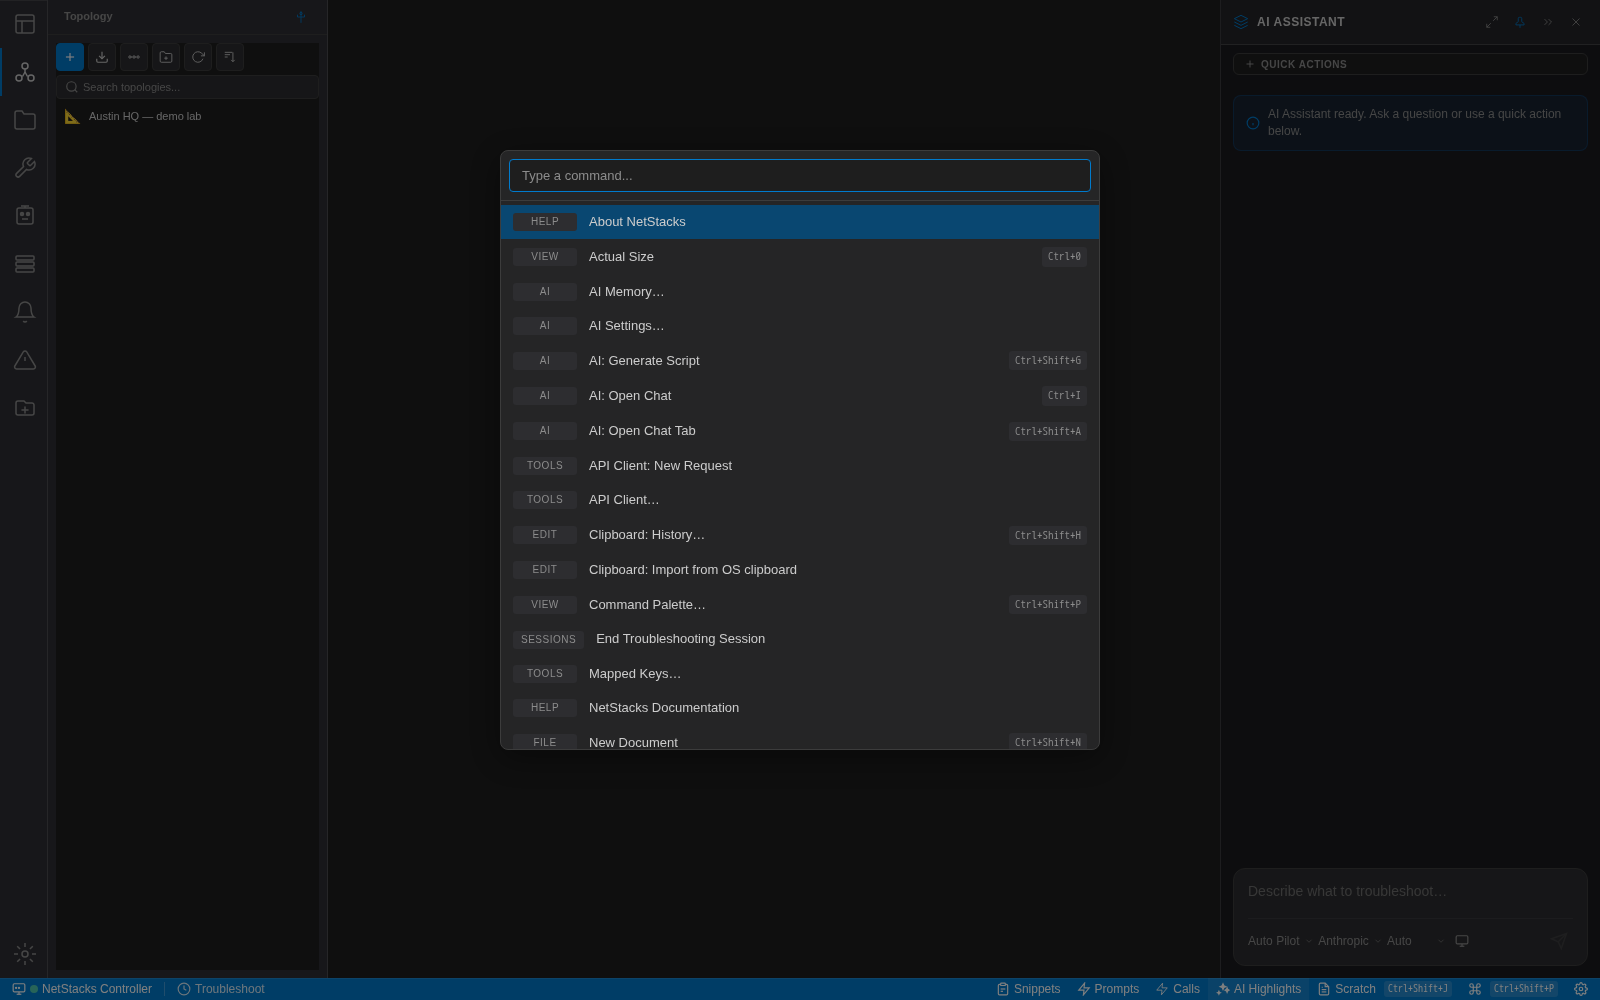
Press Cmd/Ctrl+Shift+P at any time to open the command palette and search every command by name.
1. Create Your Vault
On first launch, NetStacks asks you to Create a master password to protect your credentials.
- Enter a Master Password of at least 12 characters, then the same password again in Confirm Password.
- Click Create Vault.
This password encrypts every password, key passphrase, API key and secure note you save. You enter it each time NetStacks starts. On macOS you can turn on Touch ID unlock later in Settings → Security.
If you forget the master password, the only option is Reset vault, which permanently deletes all stored secrets. Your sessions, profiles, topologies and documents are kept.
Your organization uses a Controller? Click Sign in to a Controller instead and follow Quick Start with a Controller.
2. Set Up the AI Assistant
Next, the setup wizard opens. Click Next on Welcome to NetStacks, then on Set up the AI assistant:
- Choose a Provider: Anthropic (Claude), OpenAI, OpenRouter, Ollama (local), LiteLLM or Custom (any OpenAI-compatible endpoint).
- Paste your API key (Ollama doesn't need one). If you leave Model blank, NetStacks uses the first model the provider lists.
- Click Save & test.
The next step, Connect NetBox (optional), can import your NetBox devices as sessions. Skip it for now. A few concepts explains API Resources and Integrations (see Integrations & API Resources). Click Finish to close the wizard.
No API key yet? Click Skip setup. You can add a provider later in Settings → AI, or reopen the wizard from the command palette (Setup Wizard).
3. Create a Credential Profile
Every session gets its login from a credential profile. That way one profile, for example “Lab routers”, can serve many devices, and you change a password in one place.
- Open Settings (Cmd/Ctrl+,) → Profiles and click Create Profile.
- On the Auth tab, enter a Profile Name and Username, then pick an Auth Type:
- Password: type the password. It is stored encrypted in the vault.
- Public Key: enter the Key File Path (for example
~/.ssh/id_ed25519) and, if the key has one, its passphrase.
- Optional: on the Connection tab, set a non-standard port or a default jump host. On the Terminal tab, set the CLI Flavor (for example Cisco IOS/IOS-XE or Juniper Junos) so the AI knows the device's syntax. On the SNMP tab, add v2c community strings for topology discovery and live stats.
- Save the profile.
4. Add a Session and Connect
- Click Sessions in the activity bar, then New Session (the + button) in the sidebar toolbar.
- On the General tab, enter a Session Name, choose a Protocol (SSH or Telnet), and enter the Host (IP or hostname) and Port. Optionally pick a Folder.
- On the SSH tab, choose the Credential Profile you just created.
- Click Save. Then double-click the session to connect.
- On the first connection to a device, a Confirm SSH host key dialog shows its SHA-256 fingerprint. Check it against the device if you can, then click Trust This Key. NetStacks saves the key to your
~/.ssh/known_hostsand warns you if it ever changes.
Press Cmd/Ctrl+Shift+Q for Quick Connect. Enter a host, port and credential profile and click Connect, or Connect & Save... to keep it as a session.
Have many devices? Import them with Import CSV/JSON in the Sessions toolbar, from SecureCRT (Settings → Integrations → Import from SecureCRT), or from NetBox. See Adding Devices.
5. Work in the Terminal
A few things worth trying in your first session:
- Run a command such as
show ip interface brief. Right-click an IP address, MAC address or interface name in the output for context actions such as Ping, OUI Lookup or SNMP Stats. - Open more sessions; each one gets a tab. Right-click a tab and choose Split Right or Split Down to see two at once.
- Press Cmd/Ctrl+F to search the output, and Cmd/Ctrl+Shift+S to save it to Documents.
- Right-click inside the terminal and choose Start Recording to record the session, or Start Session Logging to log it to a file.
See Terminal Overview and Keyboard Shortcuts for more.
6. Ask the AI
- Select some output, right-click and choose AI: Explain, AI: Fix/Debug or AI: Suggest. Or choose Ask AI to open a chat about it.
- Press Cmd/Ctrl+J to open the AI Assistant panel. Describe what you want to check, for example “Why is BGP to 10.0.0.2 down?”. The assistant can read your session and propose or run commands. The controls under the input box choose the mode, provider and model, and how much the AI may run without asking.
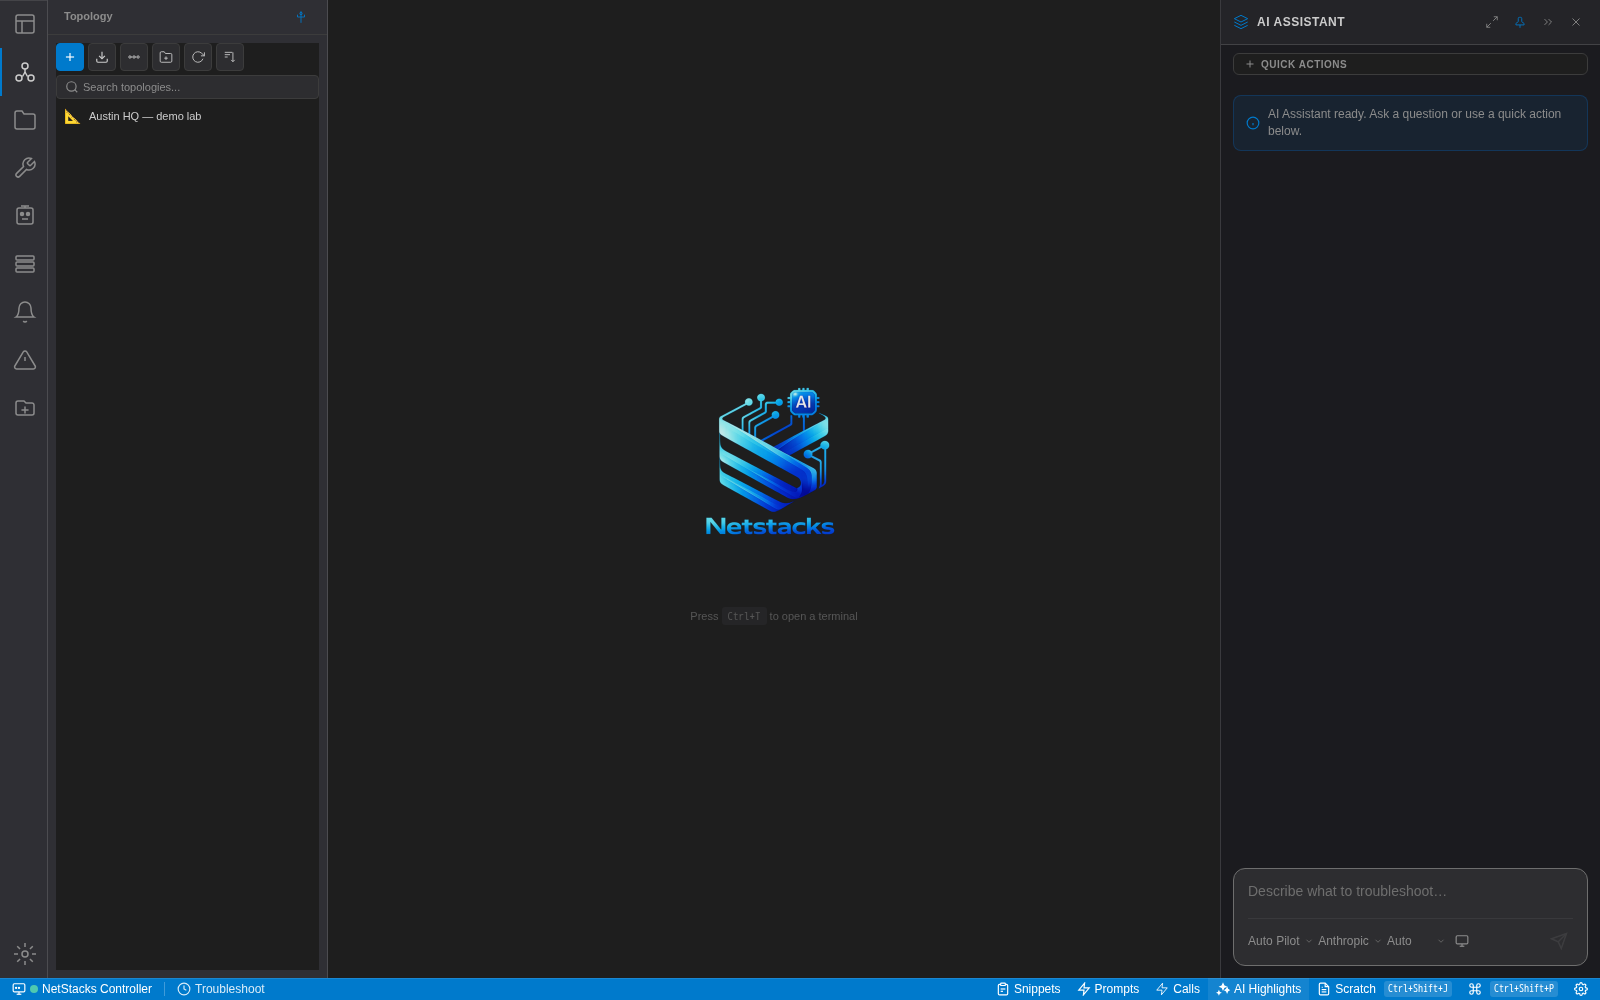
Before anything is sent to the AI provider, NetStacks removes passwords, keys and community strings it finds in the text. See AI Chat and Credential Sanitization.
7. Map Your Network
- Connect to a few neighbouring devices so you have several terminal tabs open.
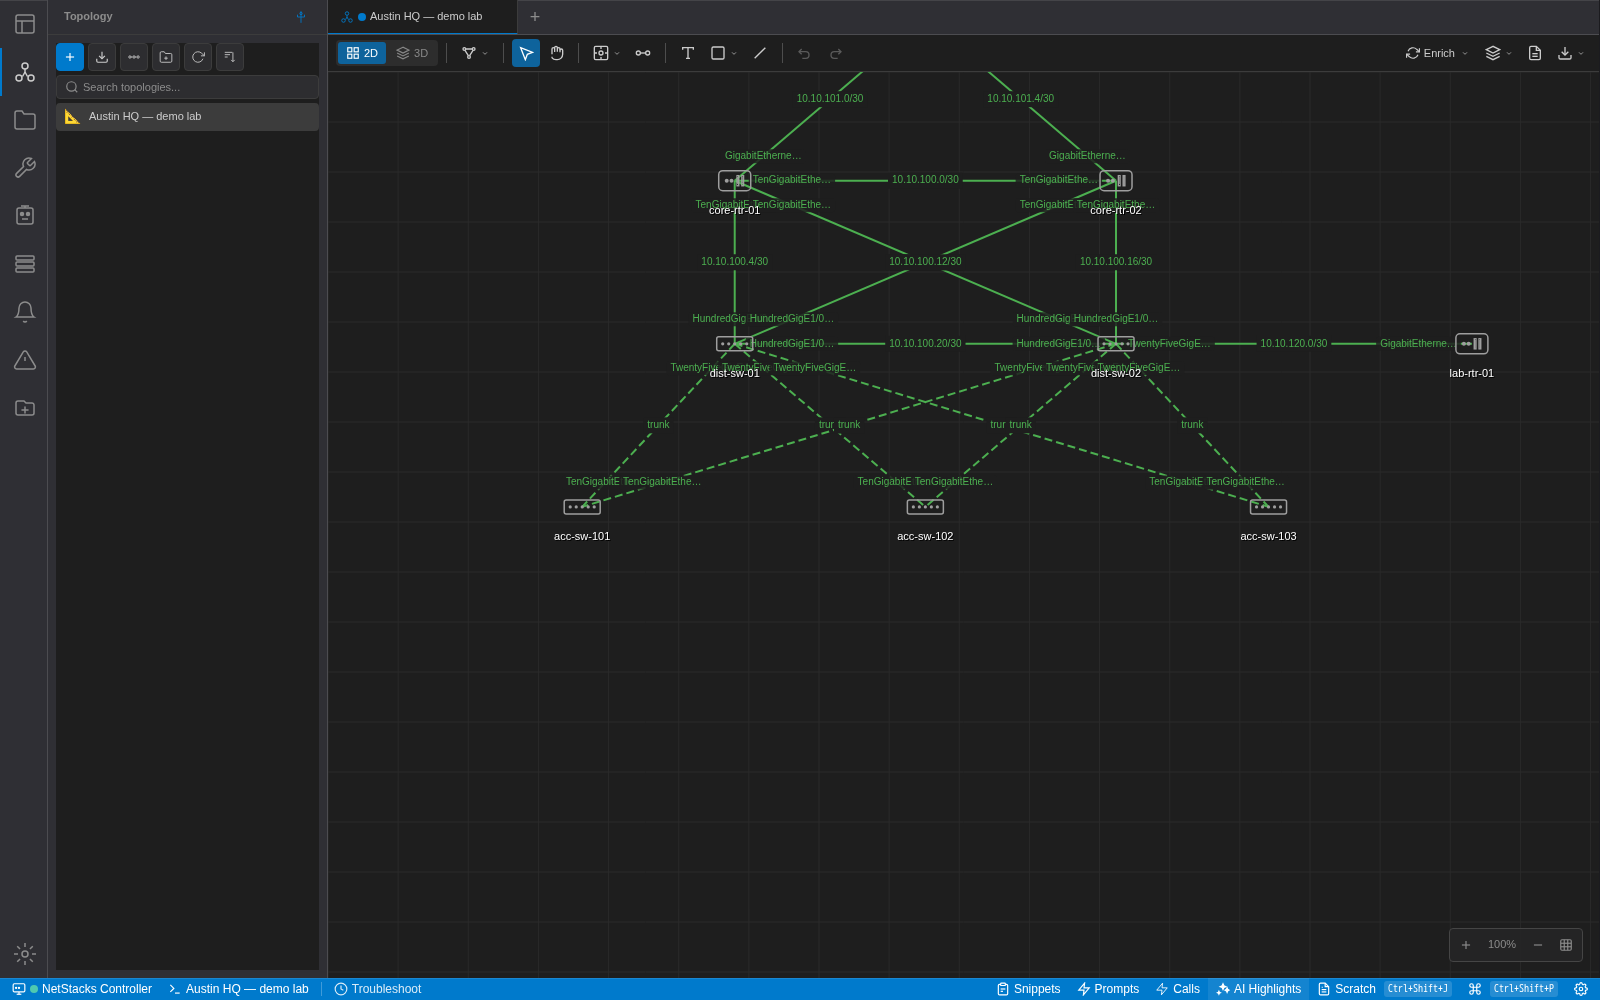
- Click Network Topology in the activity bar, then New Topology (the + button).
- Give it a Name, tick the sessions to start from and click Discover Topology.
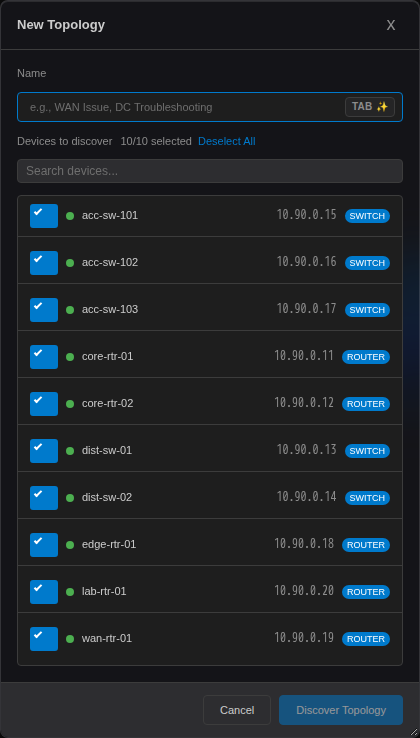
Discovery reads CDP and LLDP neighbours, using SNMP v2c (with the community strings from the credential profile) and CLI commands such as show cdp neighbors detail, and draws what it finds. Use 2D/3D to change the view, Live for SNMP link utilisation, and the export menu for PNG, SVG or JSON.
Have a traceroute instead? Right-click traceroute or MTR output in the terminal and choose Visualize Traceroute / MTR. More in Network Topology.
Quick Start with a Controller Enterprise
If your organization runs a NetStacks Controller, you don't create a vault or profiles yourself. Your administrator has already set up devices and credentials.
- On the first-launch screen, click Sign in to a Controller instead, enter the Controller URL and click Save & restart. Or skip the install and open
https://<controller>:3000/terminal/in a browser. - Trust the Controller's certificate after checking its fingerprint, then sign in with your Controller username and password.
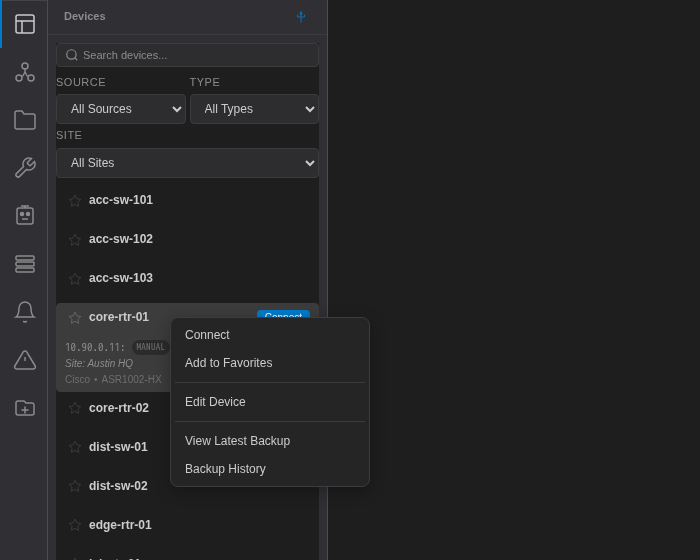
- The Devices sidebar lists the devices you can reach. Filter by Source, Type or Site. Right-click a device and choose Connect.
- The AI panel, topology and Documents work as described above.
Full details are in Connecting to a Controller.
Where to Go Next
- Credential Vault: lock, change the master password, Touch ID.
- Jump Hosts & Bastions and SSH Tunnels.
- NetBox Integration: import your source of truth.
- Methods of Procedure: plan and run changes safely.
- The Local Agent: where your data lives and how to back it up.