
Preview & Rendering
Preview config templates with test values, preview a whole stack instance per device, and render Jinja document templates in the Terminal.
Overview
Rendering fills a template's variables with values and produces the final config text. The Controller renders templates in three places:
- Template editor: Test Variables and Rendered Output, for checking one template while you write it.
- Instance editor: Render Preview, which shows the exact config every service will produce for every target device.
- Deployment: stage 1 of every deployment renders the stack, and the logs record the config that was sent.
Preview a Template Enterprise
- Open a saved template from Config Automation → Templates.
- In Test Variables, type a value for each variable. Enter lists as JSON, for example
["10.90.0.5", "10.90.0.4"]. - The Rendered Output card updates automatically about half a second after you stop typing ("Preview auto-updates as you type").
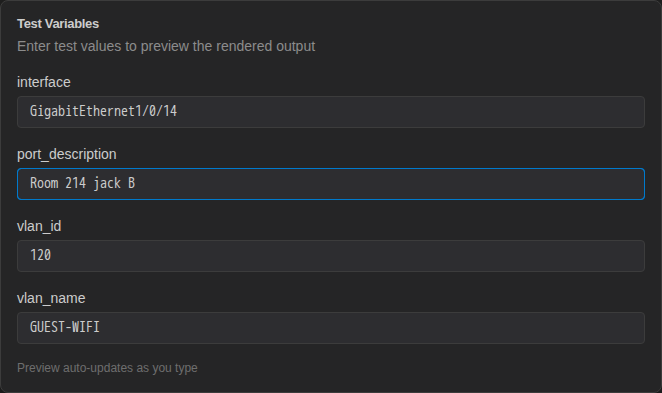
Test values are not saved. They exist only to check the template, and they are cleared when you leave the page.
Rendering happens on the Controller using the template as it was last saved, not the text currently in the editor. After you change Template Source, click Save and reopen the template before you trust the preview. New variables also only get a test field after saving.
Preview a Stack Instance Enterprise
Before you deploy, preview the instance to see exactly what each device will receive.
- Open the instance from Config Automation → Instances.
- Make sure each service has devices assigned and its variables filled in.
- In the Render Preview card, click Render Preview.
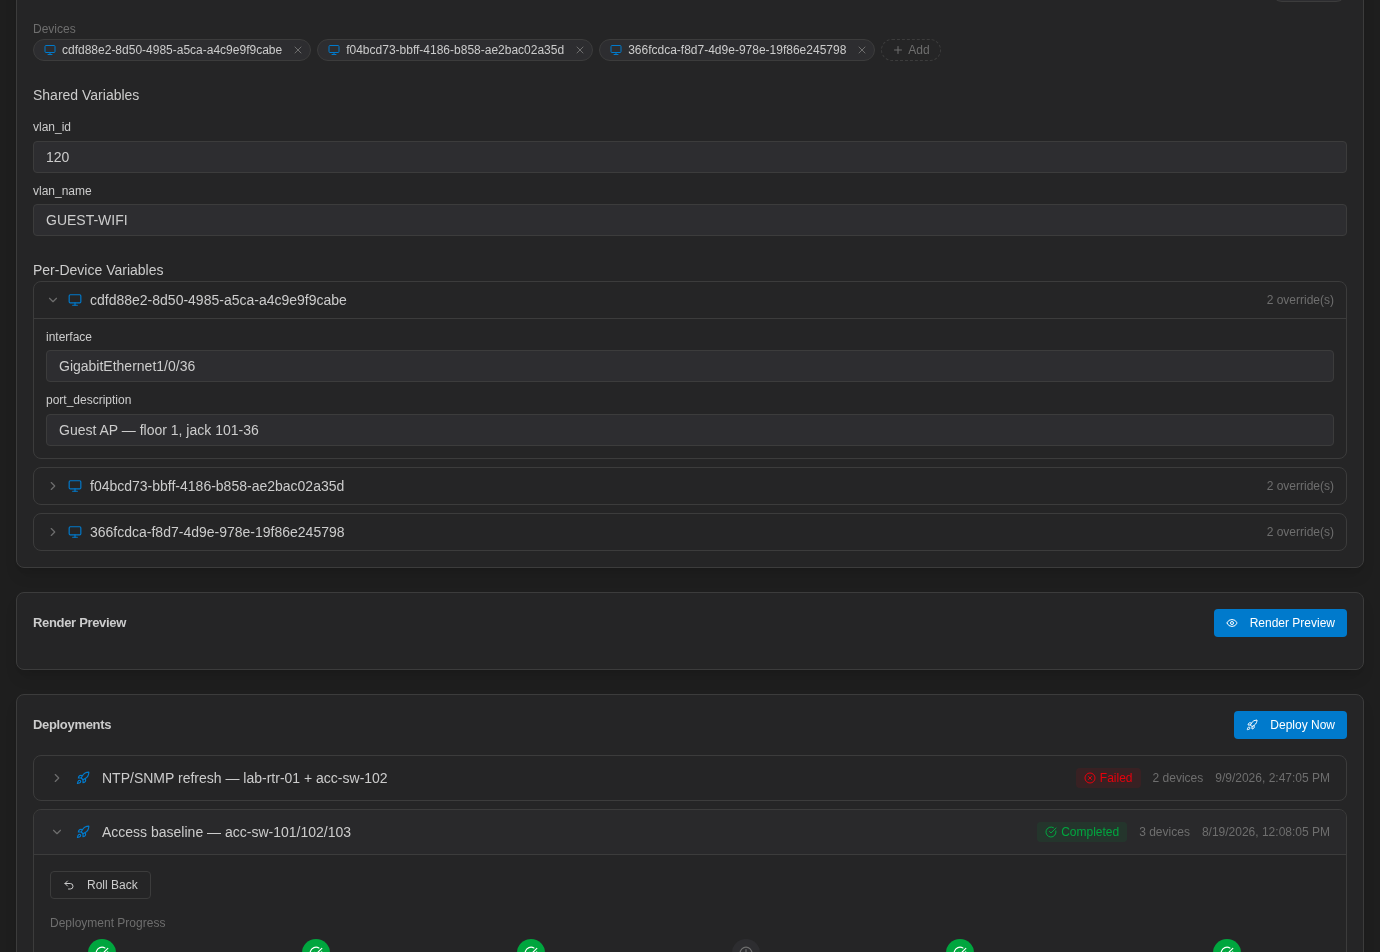
The result is grouped by device. For each device you see every service in stack order with its rendered config. The preview uses the values currently on the form, so you can check changes before saving the instance. Until devices are selected and at least one variable is filled in, the card says "Select devices and fill in at least one variable to preview rendered output."
The preview runs the same checks as a deployment's render stage. It reports an error if a template fails to render for a device, or if two services in the stack target the same path on one device.
What Preview Does Not Do Enterprise
Preview only renders text. It does not connect to devices, compare against the running config, or validate commands. A command the device rejects (for example an interface that does not exist) only shows up when you deploy.
Deployments give you these safety nets instead:
- A pre-flight backup of each device's config before anything is pushed
- The full rendered config and every device response in the deployment logs
- Roll Back to re-apply the pre-deployment backup (see Deployments & Rollback)
Render Errors Enterprise
If a template cannot render, Rendered Output shows a red Render Error box with MiniJinja's message. Common causes:
| Message mentions | Likely cause | Fix |
|---|---|---|
| syntax error / unexpected end of input | An unclosed {% if %} or {% for %}, or a missing }} / %} | Add the matching end tag or closing braces. |
| unknown filter | A filter that does not exist in MiniJinja (for example ipaddr or tojson) | Use one of the built-in filters. |
| undefined value | Reading an attribute of a variable that has no value (uplink.name with uplink empty) | Supply the value or wrap the line in {% if uplink is defined %}. |
| unknown method | A Python method call such as name.upper() | Use the filter form: {{ name | upper }}. |
An empty top-level variable does not cause an error; it renders as an empty string. Check the output for blank spots where a value should be.
Document Templates in the Terminal
The Terminal's Documents panel has a Templates category for Jinja documents. They work in both standalone and enterprise mode and are separate from Controller config templates: they are never pushed to devices. Use them for text you fill in and paste yourself, such as a change-request write-up or a config snippet to copy into a session.
- Open a document from the Templates category.
- Click Render in the document toolbar (shown when you are not editing).
- In the Render Template dialog, fill in a value for each variable. Variables used as lists get an array badge and one input per item.
- The Rendered Output appears below; use the copy button to put it on the clipboard.
Document templates are rendered by MiniJinja too (by the local agent in standalone mode, by the Controller in enterprise mode), so the syntax page applies to them as well.